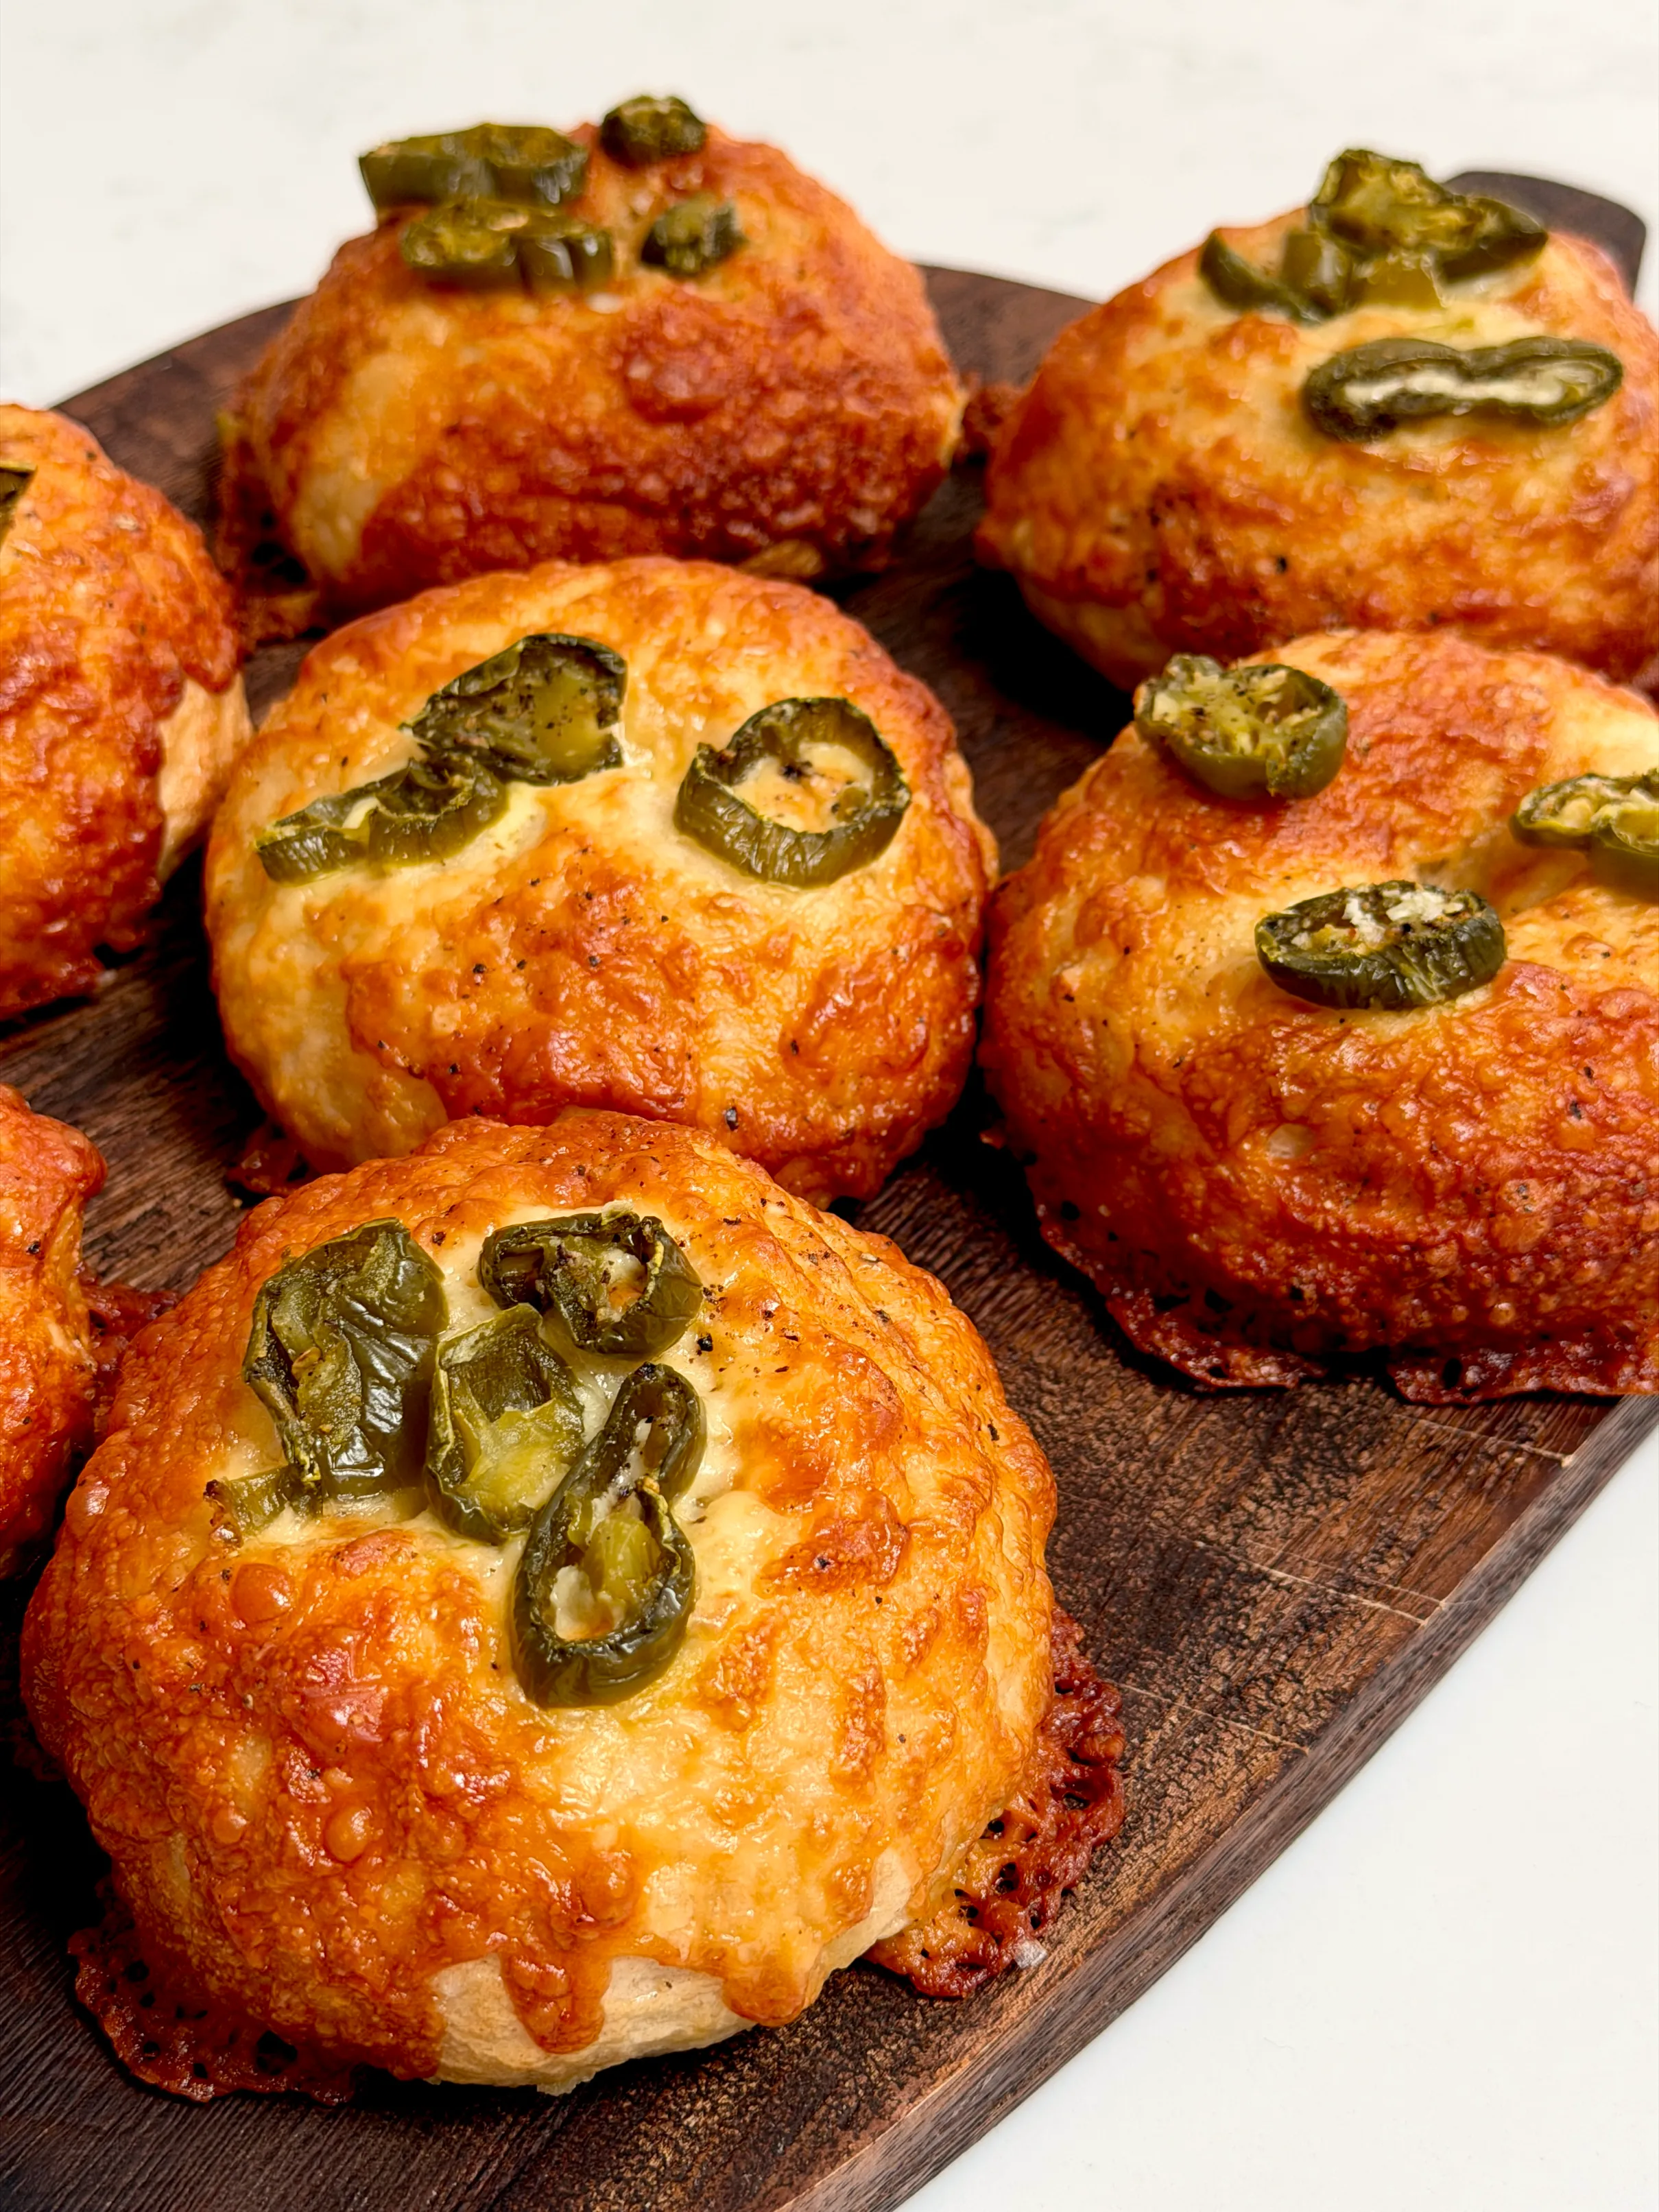
Jalapeño Cheddar Bagels
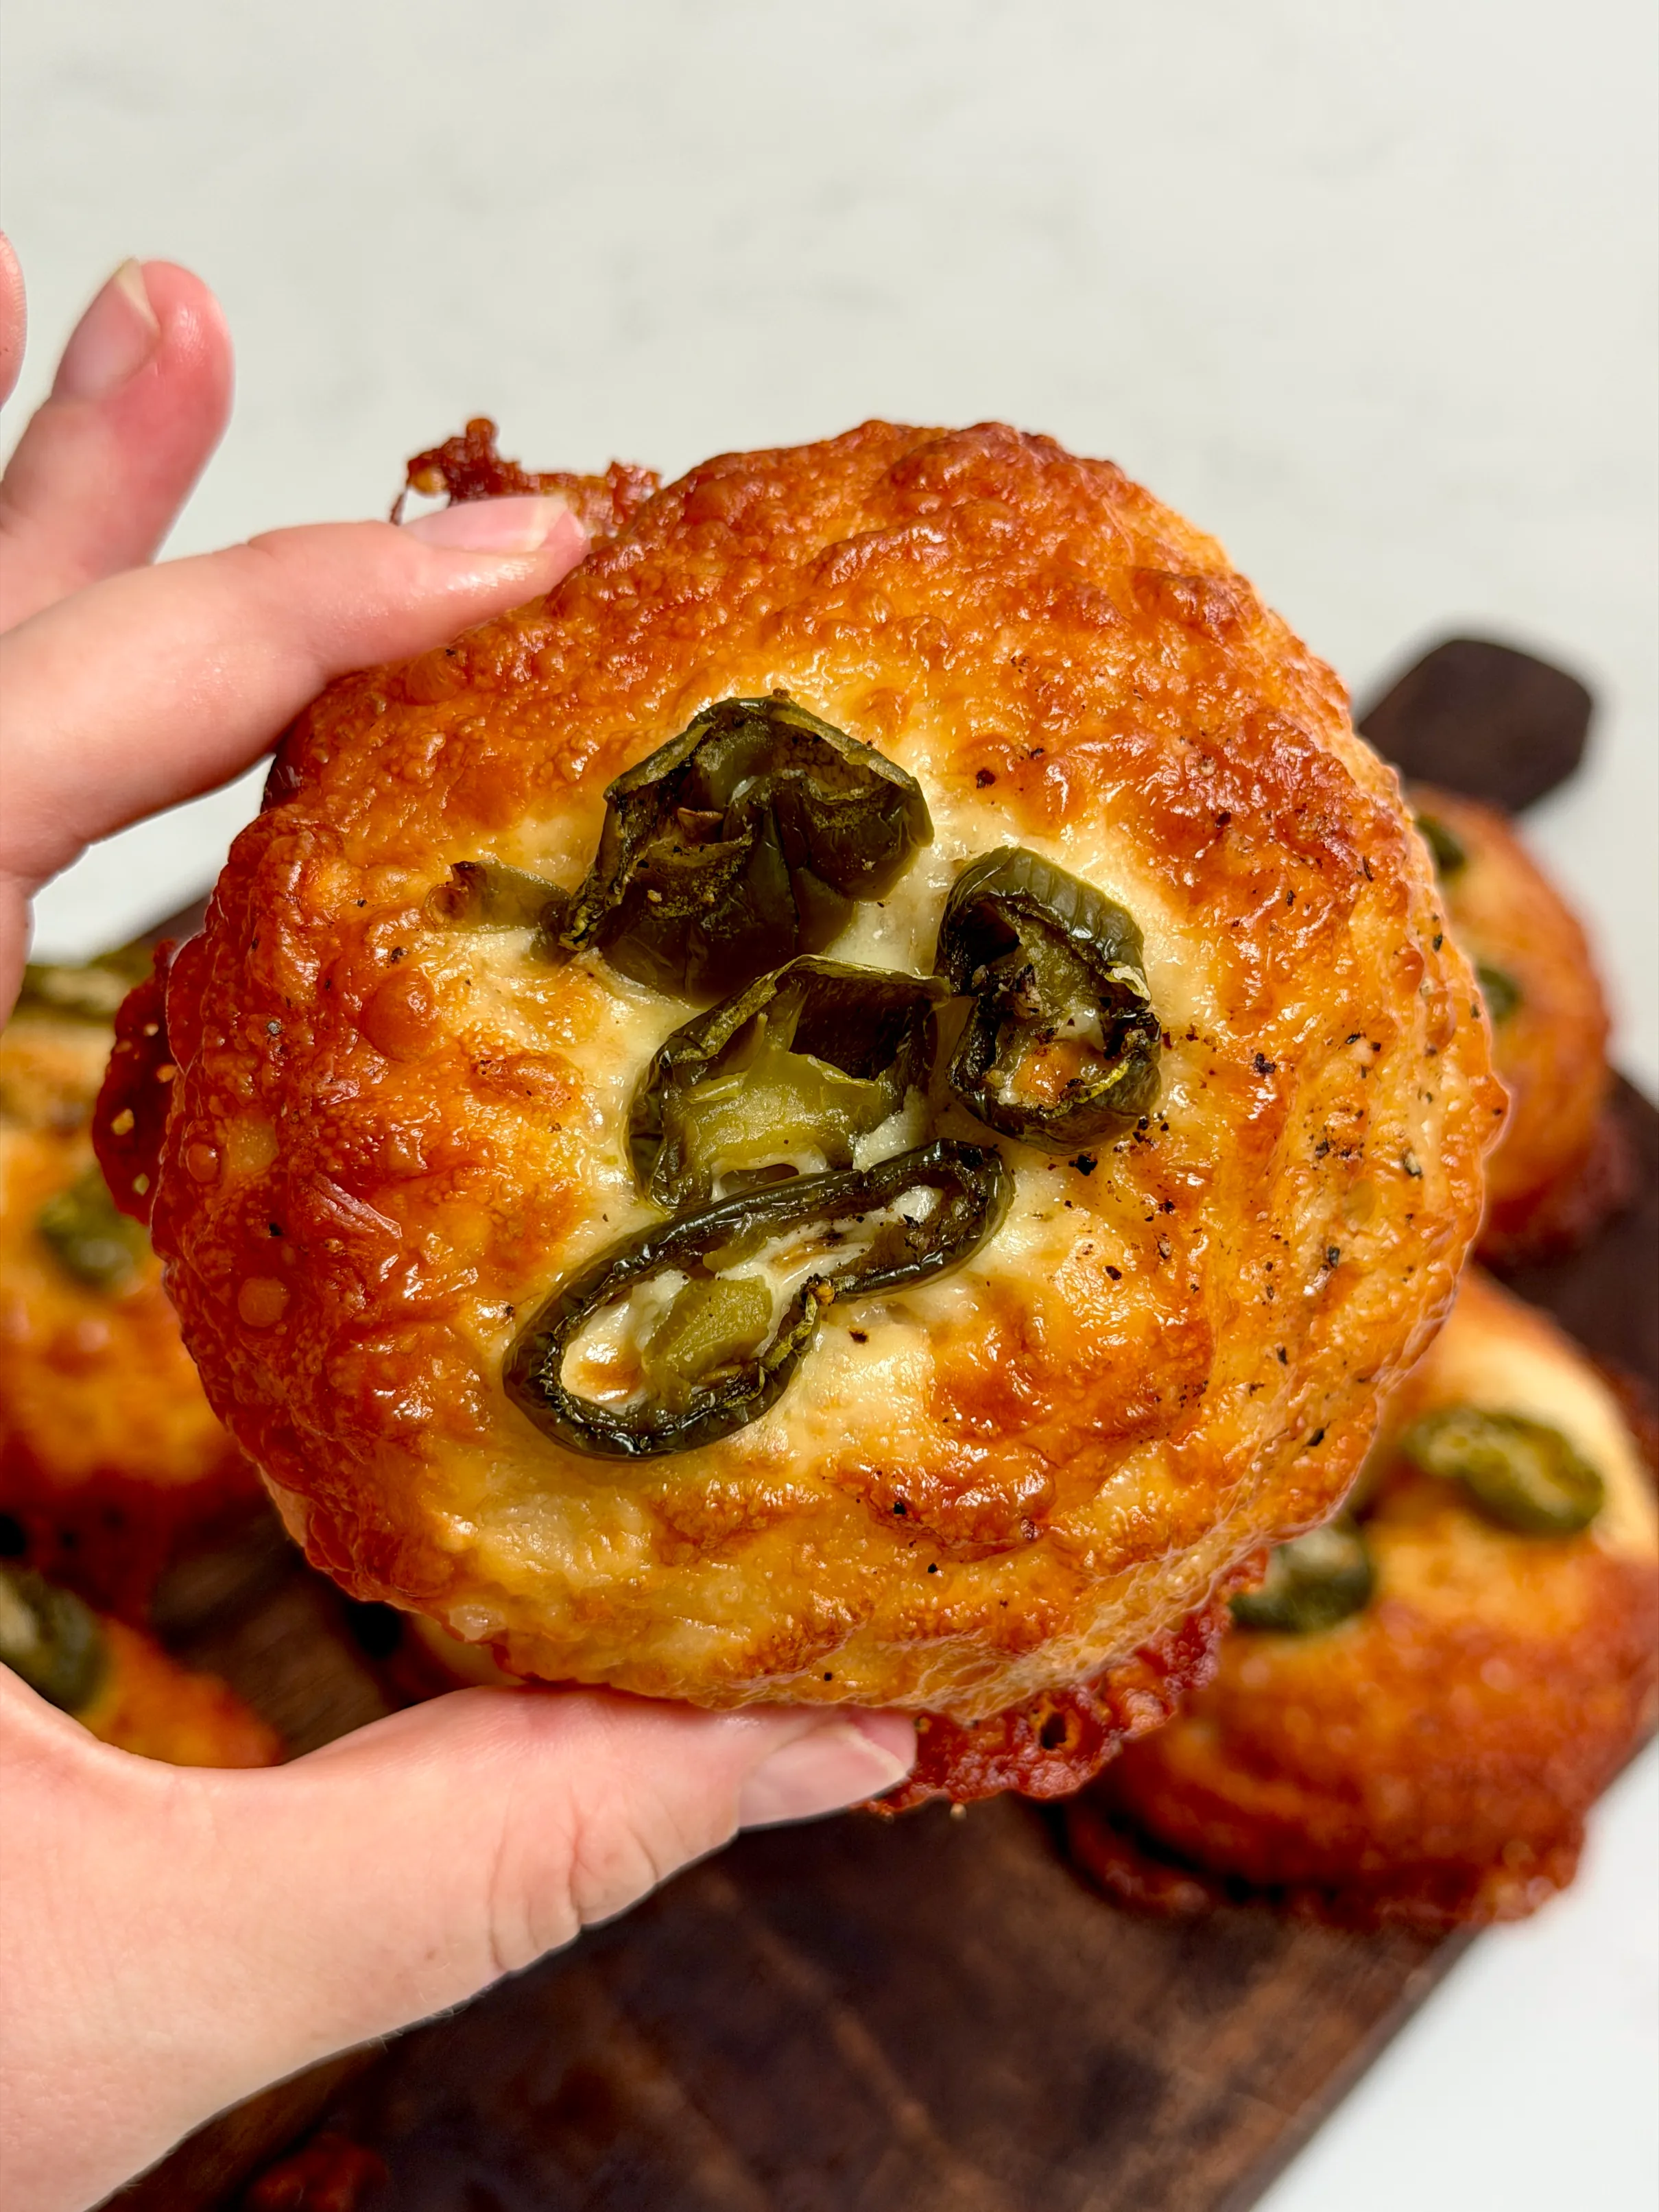
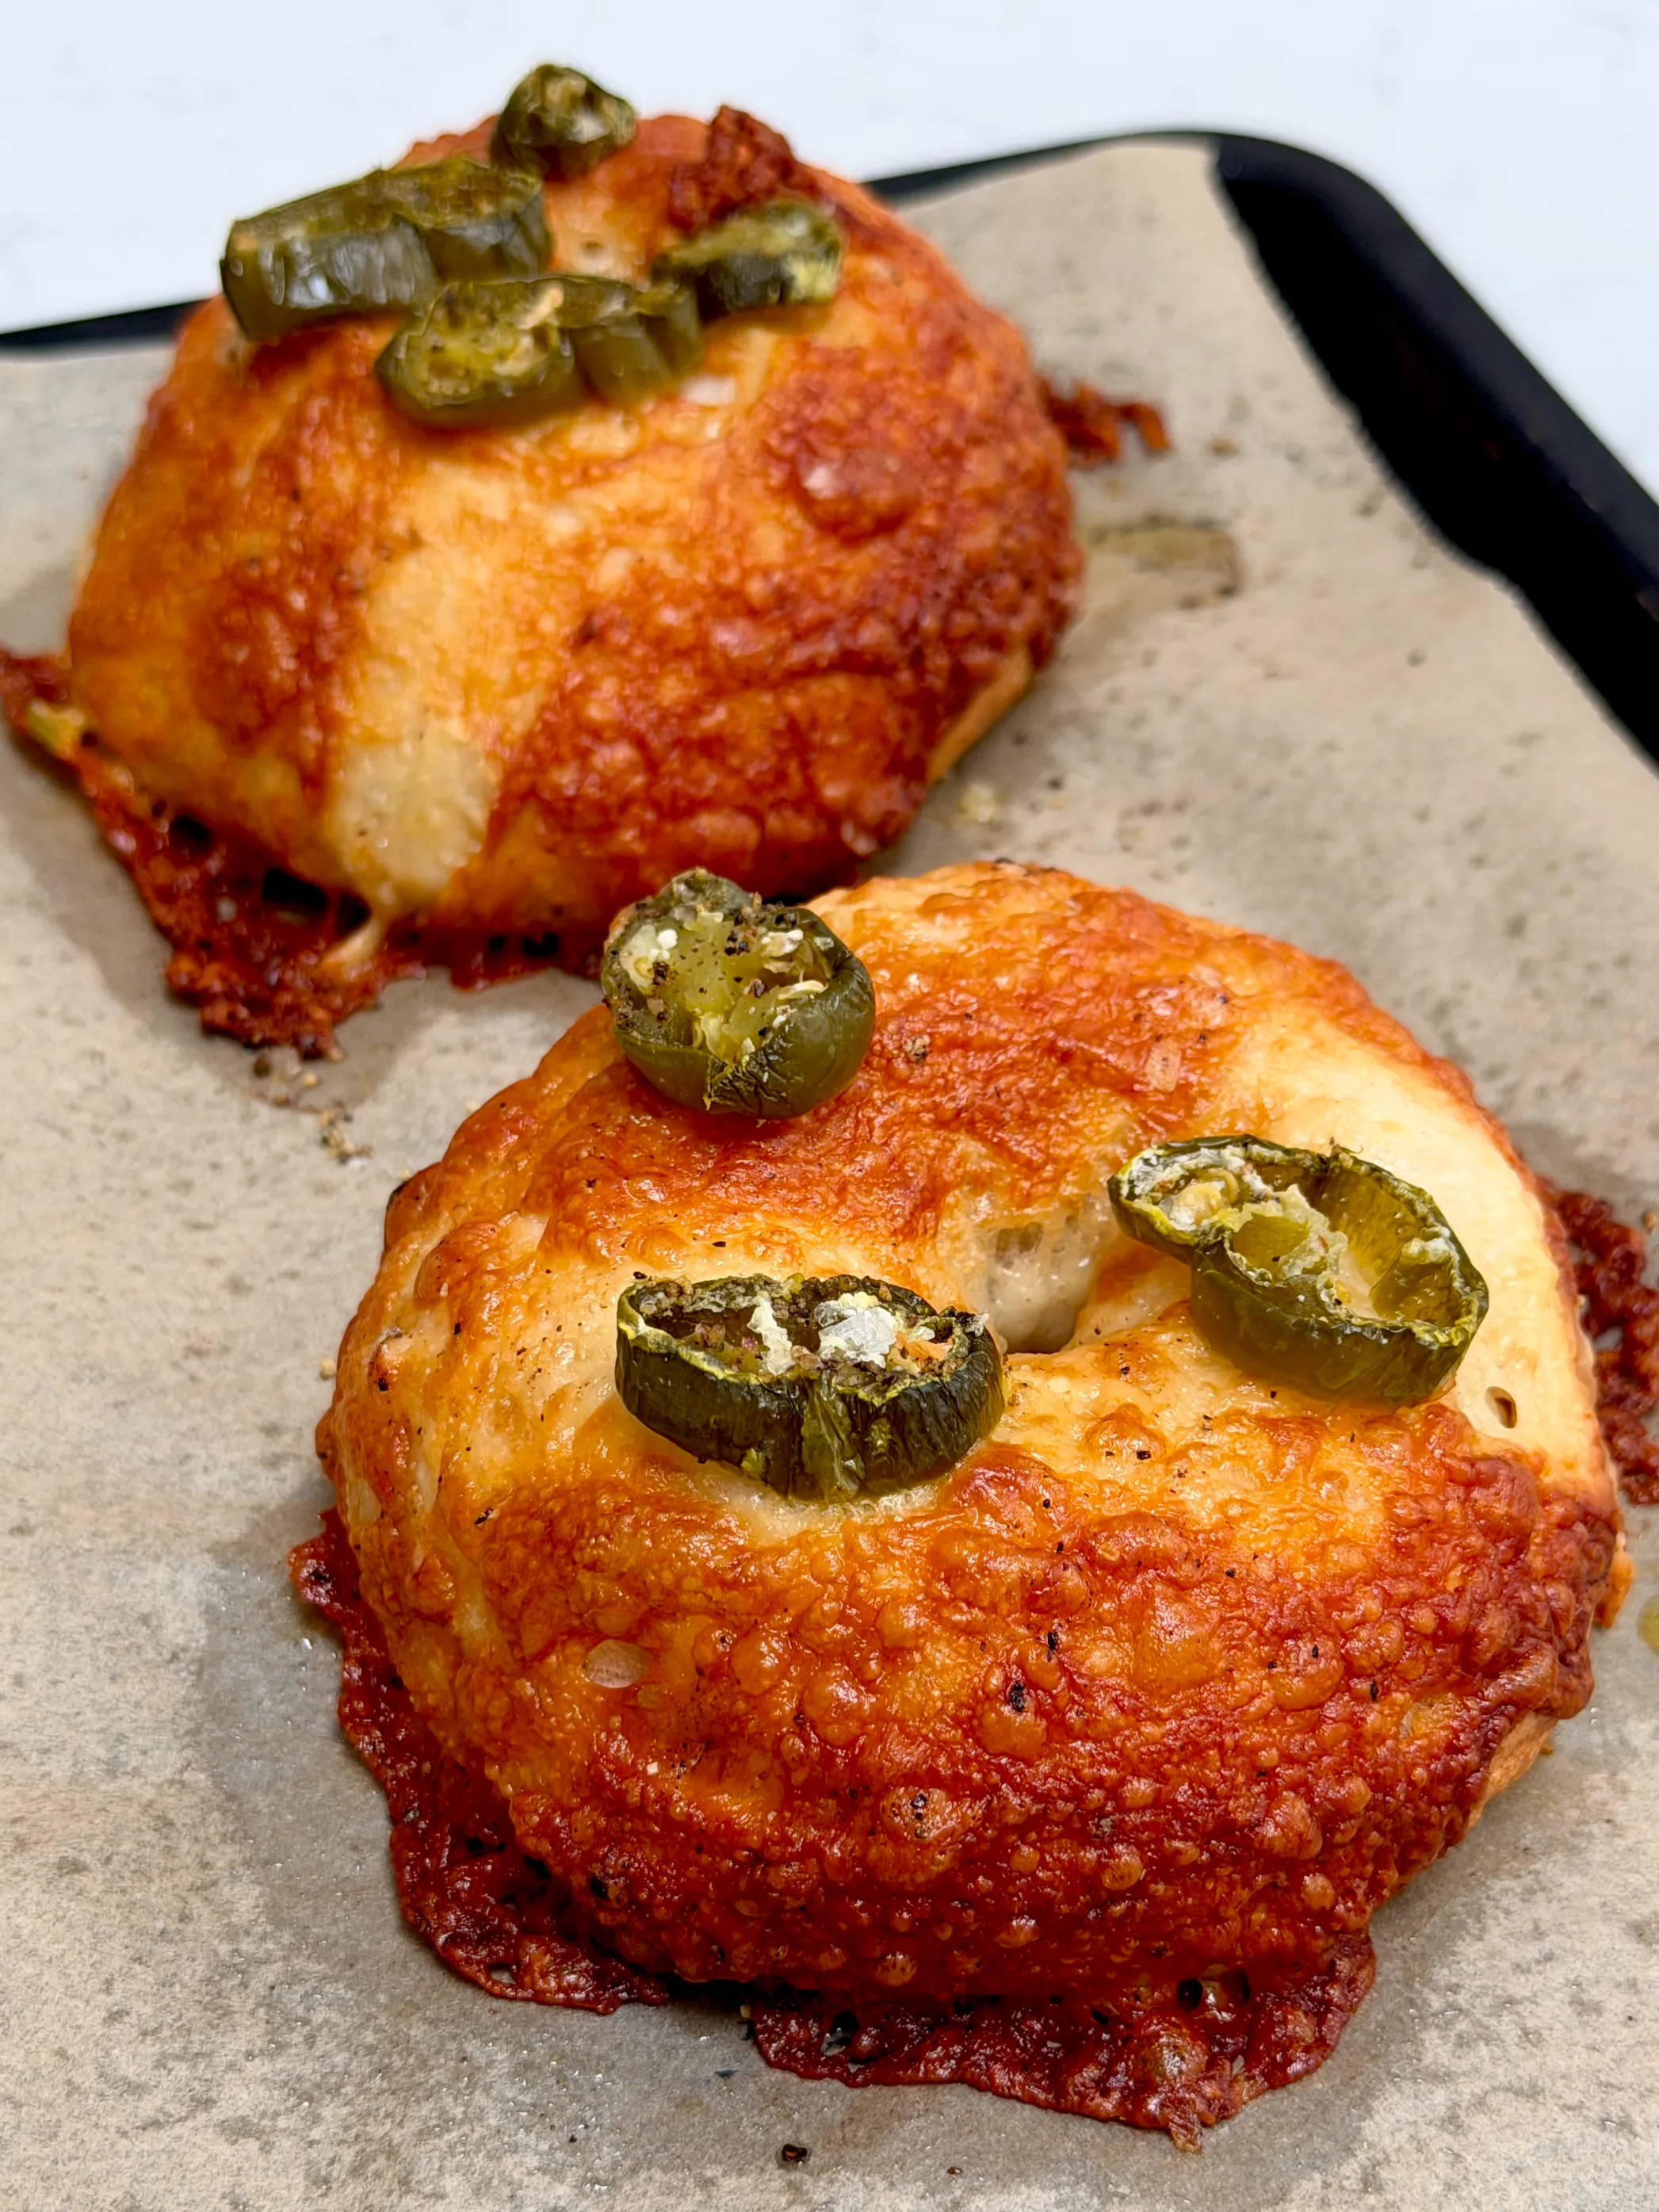
These jalapeño cheddar bagels are a homemade yeasted bread recipe that makes eight golden, chewy bagels topped with melted mature cheddar and sliced jalapeños. The dough is made in a stand mixer, left to rise, shaped by hand and boiled briefly in a bicarbonate of soda and honey bath before baking — the classic bagel method that gives them their characteristic chew and glossy crust. The toppings are simple and completely adaptable, but the combination of sharp, melted cheddar and spicy jalapeño is one of those pairings that is very hard to improve upon. These are easier to make at home than most people expect, and once you have made them once you will find it very difficult to go back to shop-bought.
Hello readers! I'm Eleanor..

If you like this recipe, make sure to follow me on my socials for more!
More like this
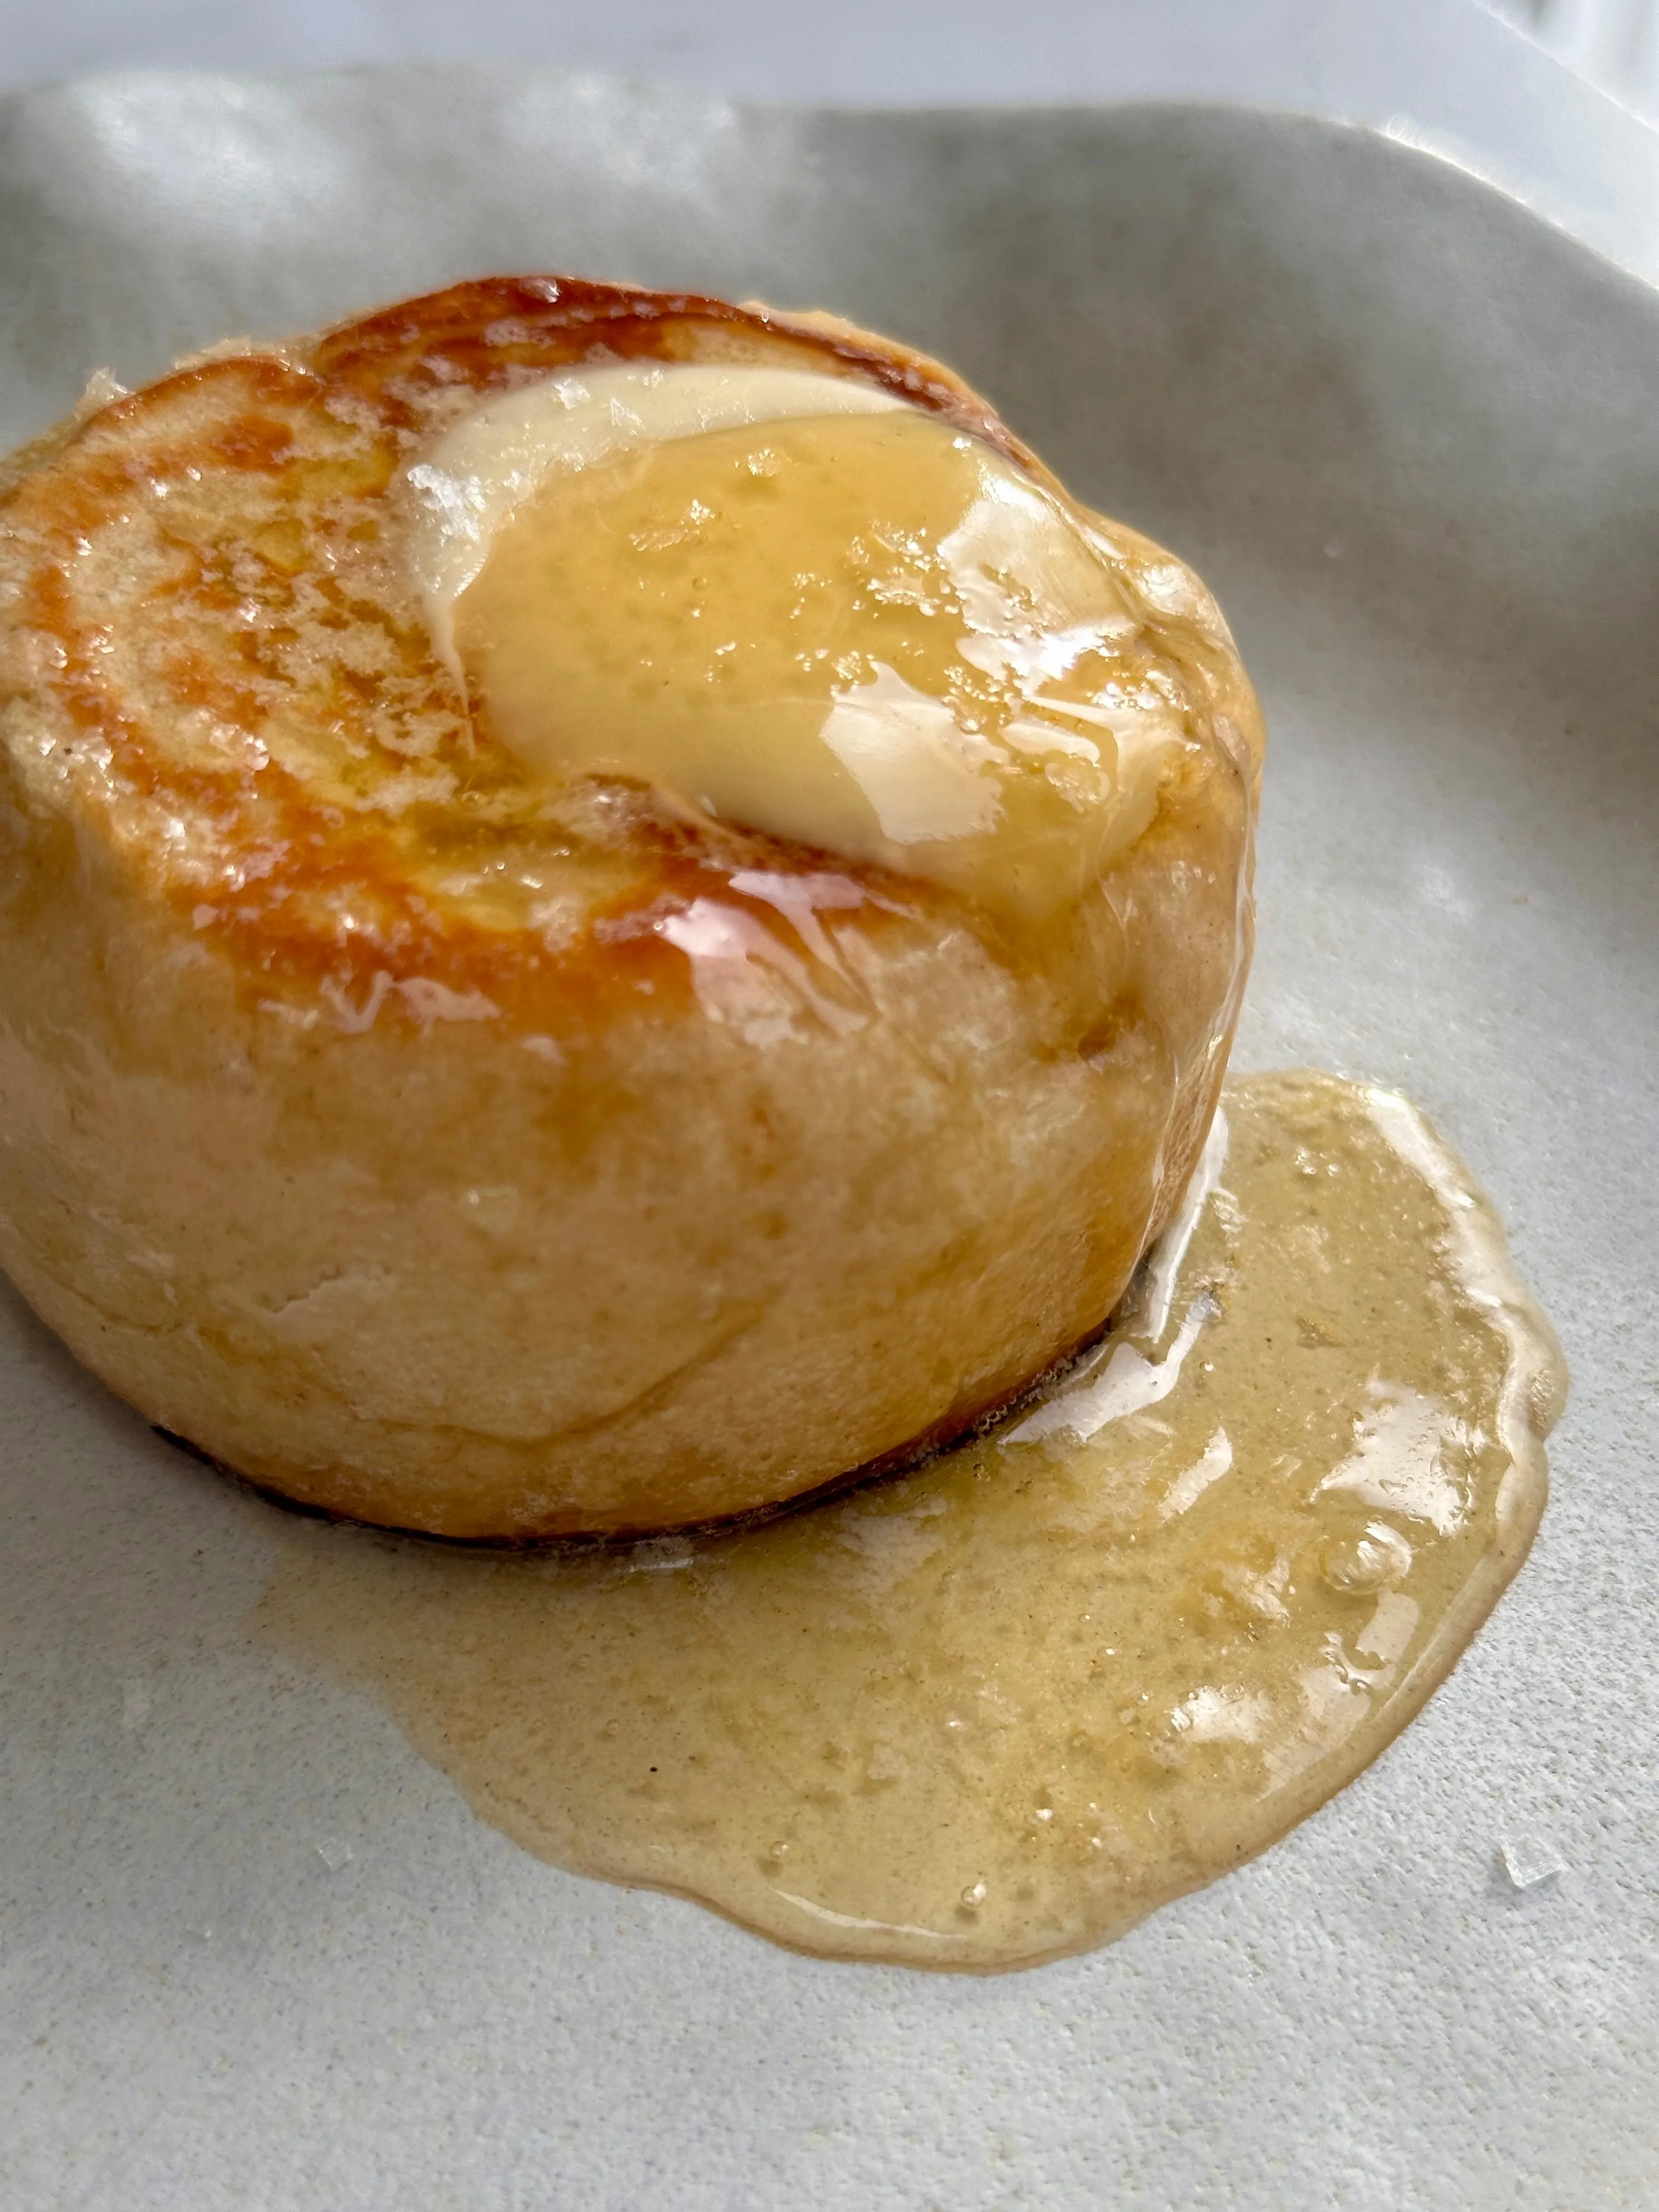
These cheddar and jalapeño bagels are a homemade yeasted bread recipe that makes eight golden, chewy bagels topped with melted mature cheddar and sliced jalapeños. The dough is made in a stand mixer, left to rise, shaped by hand and boiled briefly in a bicarbonate of soda and honey bath before baking — the classic bagel method that gives them their characteristic chew and glossy crust. The toppings are simple and completely adaptable, but the combination of sharp, melted cheddar and spicy jalapeño is one of those pairings that is very hard to improve upon. These are easier to make at home than most people expect, and once you have made them once you will find it very difficult to go back to shop-bought.
Why I Created This Recipe
The honest answer is that I love bagels, and I love the combination of cheddar and jalapeño, and that was inspiration enough! I adore the sharpness of mature cheddar alongside the vinegary heat of sliced jalapeños on a freshly baked, still-warm bagel, and I wanted to prove that making them at home is far less intimidating than it looks.
The other thing I love about homemade bagels is how completely adaptable they are. Once you have the base dough and the method, you can top them with whatever you like — sesame seeds and poppy seeds for a more classic everything bagel, just sea salt for a plain version, or something more creative entirely. But for me, cheddar and jalapeño is the combination I keep coming back to, and it is the one I want to share first.
One personal note: I like a chewier bagel, so I tend to boil mine for closer to two minutes on each side rather than one. The longer the boil, the chewier the finished bagel — so dial it in to your own preference and do not feel like you have to follow a fixed time. This is your bagel. Make it exactly how you like it.
What Makes a Bagel a Bagel — The Boiling Method
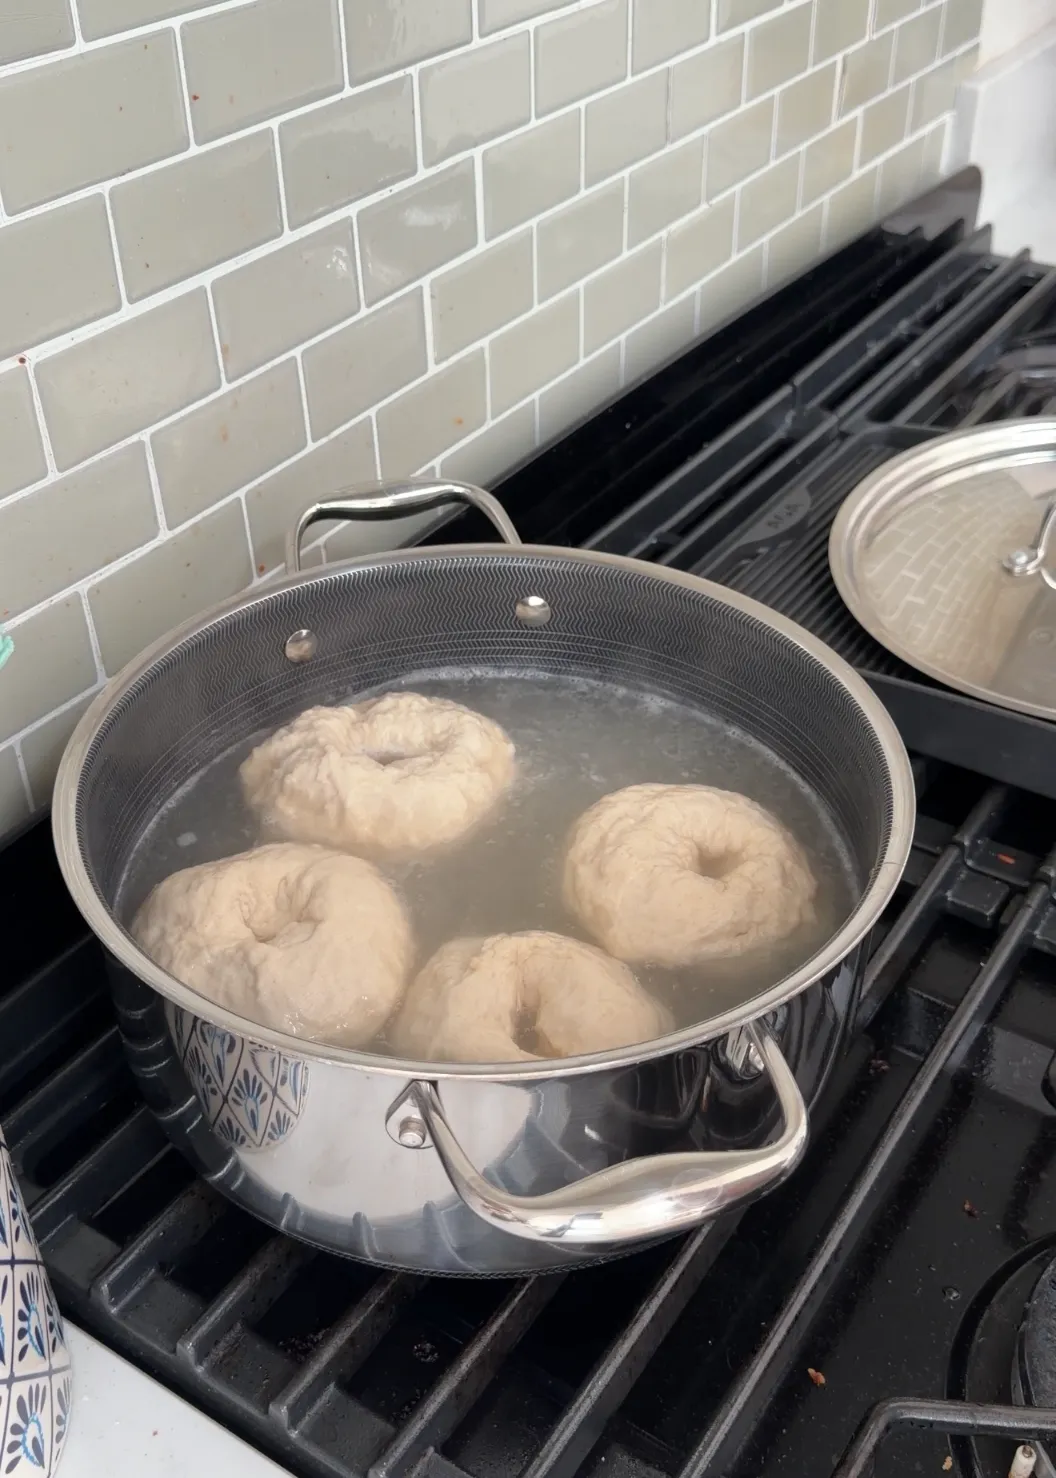
The thing that sets a bagel apart from any other bread roll is not the shape — it is the boiling. Before they go anywhere near the oven, bagels are briefly submerged in boiling water, and this step is entirely responsible for the characteristic chew, the dense crumb and the glossy, slightly shiny crust that makes a bagel a bagel.
When the shaped dough hits the boiling water, the heat gelatinises the outer layer of starch on the surface of the dough almost immediately. This creates a thin crust around the bagel before it goes in the oven — one that sets the shape, limits how much the dough can rise during baking and gives the bagel its distinctive dense, chewy interior rather than the light, airy crumb of a standard bread roll.
The additions to the boiling water — bicarbonate of soda (baking soda) and honey — both play a specific role. The bicarbonate of soda makes the water more alkaline, which accelerates the Maillard reaction during baking and gives the crust a deeper, more golden colour and a slightly more complex flavour. The honey adds a very subtle sweetness to the crust and also contributes to that characteristic golden colour. Together they are what give a proper homemade bagel its bakery-quality finish.
The length of the boil also matters — and this is where you can make the bagel your own. One minute per side gives a slightly softer, more bread-like chew; two minutes per side gives a denser, chewier result that is closer to a New York-style bagel. Neither is wrong — it entirely depends on what kind of bagel you want.
The Window Pane Test — How to Know Your Dough Is Ready
The window pane test is the most reliable way to check whether your bagel dough has been kneaded sufficiently — and it is worth understanding because it tells you something no timer can: whether the gluten in the dough has developed fully.
Gluten is the network of proteins that forms when flour and water are mixed and worked together. A well-developed gluten network is what gives bread its structure, its chew and its ability to trap the gas produced by the yeast during rising — which is what makes the dough rise and gives the finished bread its texture. Under-kneaded dough has a weak, patchy gluten network, which means the bread will be dense, crumbly and poorly structured.
To do the window pane test: take a small piece of dough — about the size of a walnut — and stretch it gently between your fingers, pulling it out as thin as you can. If the dough is properly kneaded, it should stretch into a very thin, almost translucent membrane without tearing — you should be able to see light through it, like a window pane, hence the name. If the dough tears before it reaches this point, the gluten is not fully developed and the dough needs more kneading.
In a stand mixer on a medium speed, this typically takes 15–20 minutes with strong white bread flour. Check from 12 minutes onwards, testing every couple of minutes. Once the dough passes the window pane test consistently — stretching thin and translucent without tearing — it is ready. This is the step that cannot be rushed, and it is the one that makes the difference between a great bagel and a mediocre one.
Why You'll Want to Make This Recipe
Easier Than You Think
Homemade bagels have a reputation for being complicated or time-consuming, and it is largely undeserved. The stand mixer does the hard work of kneading; the shaping is straightforward once you get the feel for it; and the boiling and baking together take less than 25 minutes. The rise time is the longest part, and that is entirely hands-off.
Jalapeño Cheddar Bagels at Home
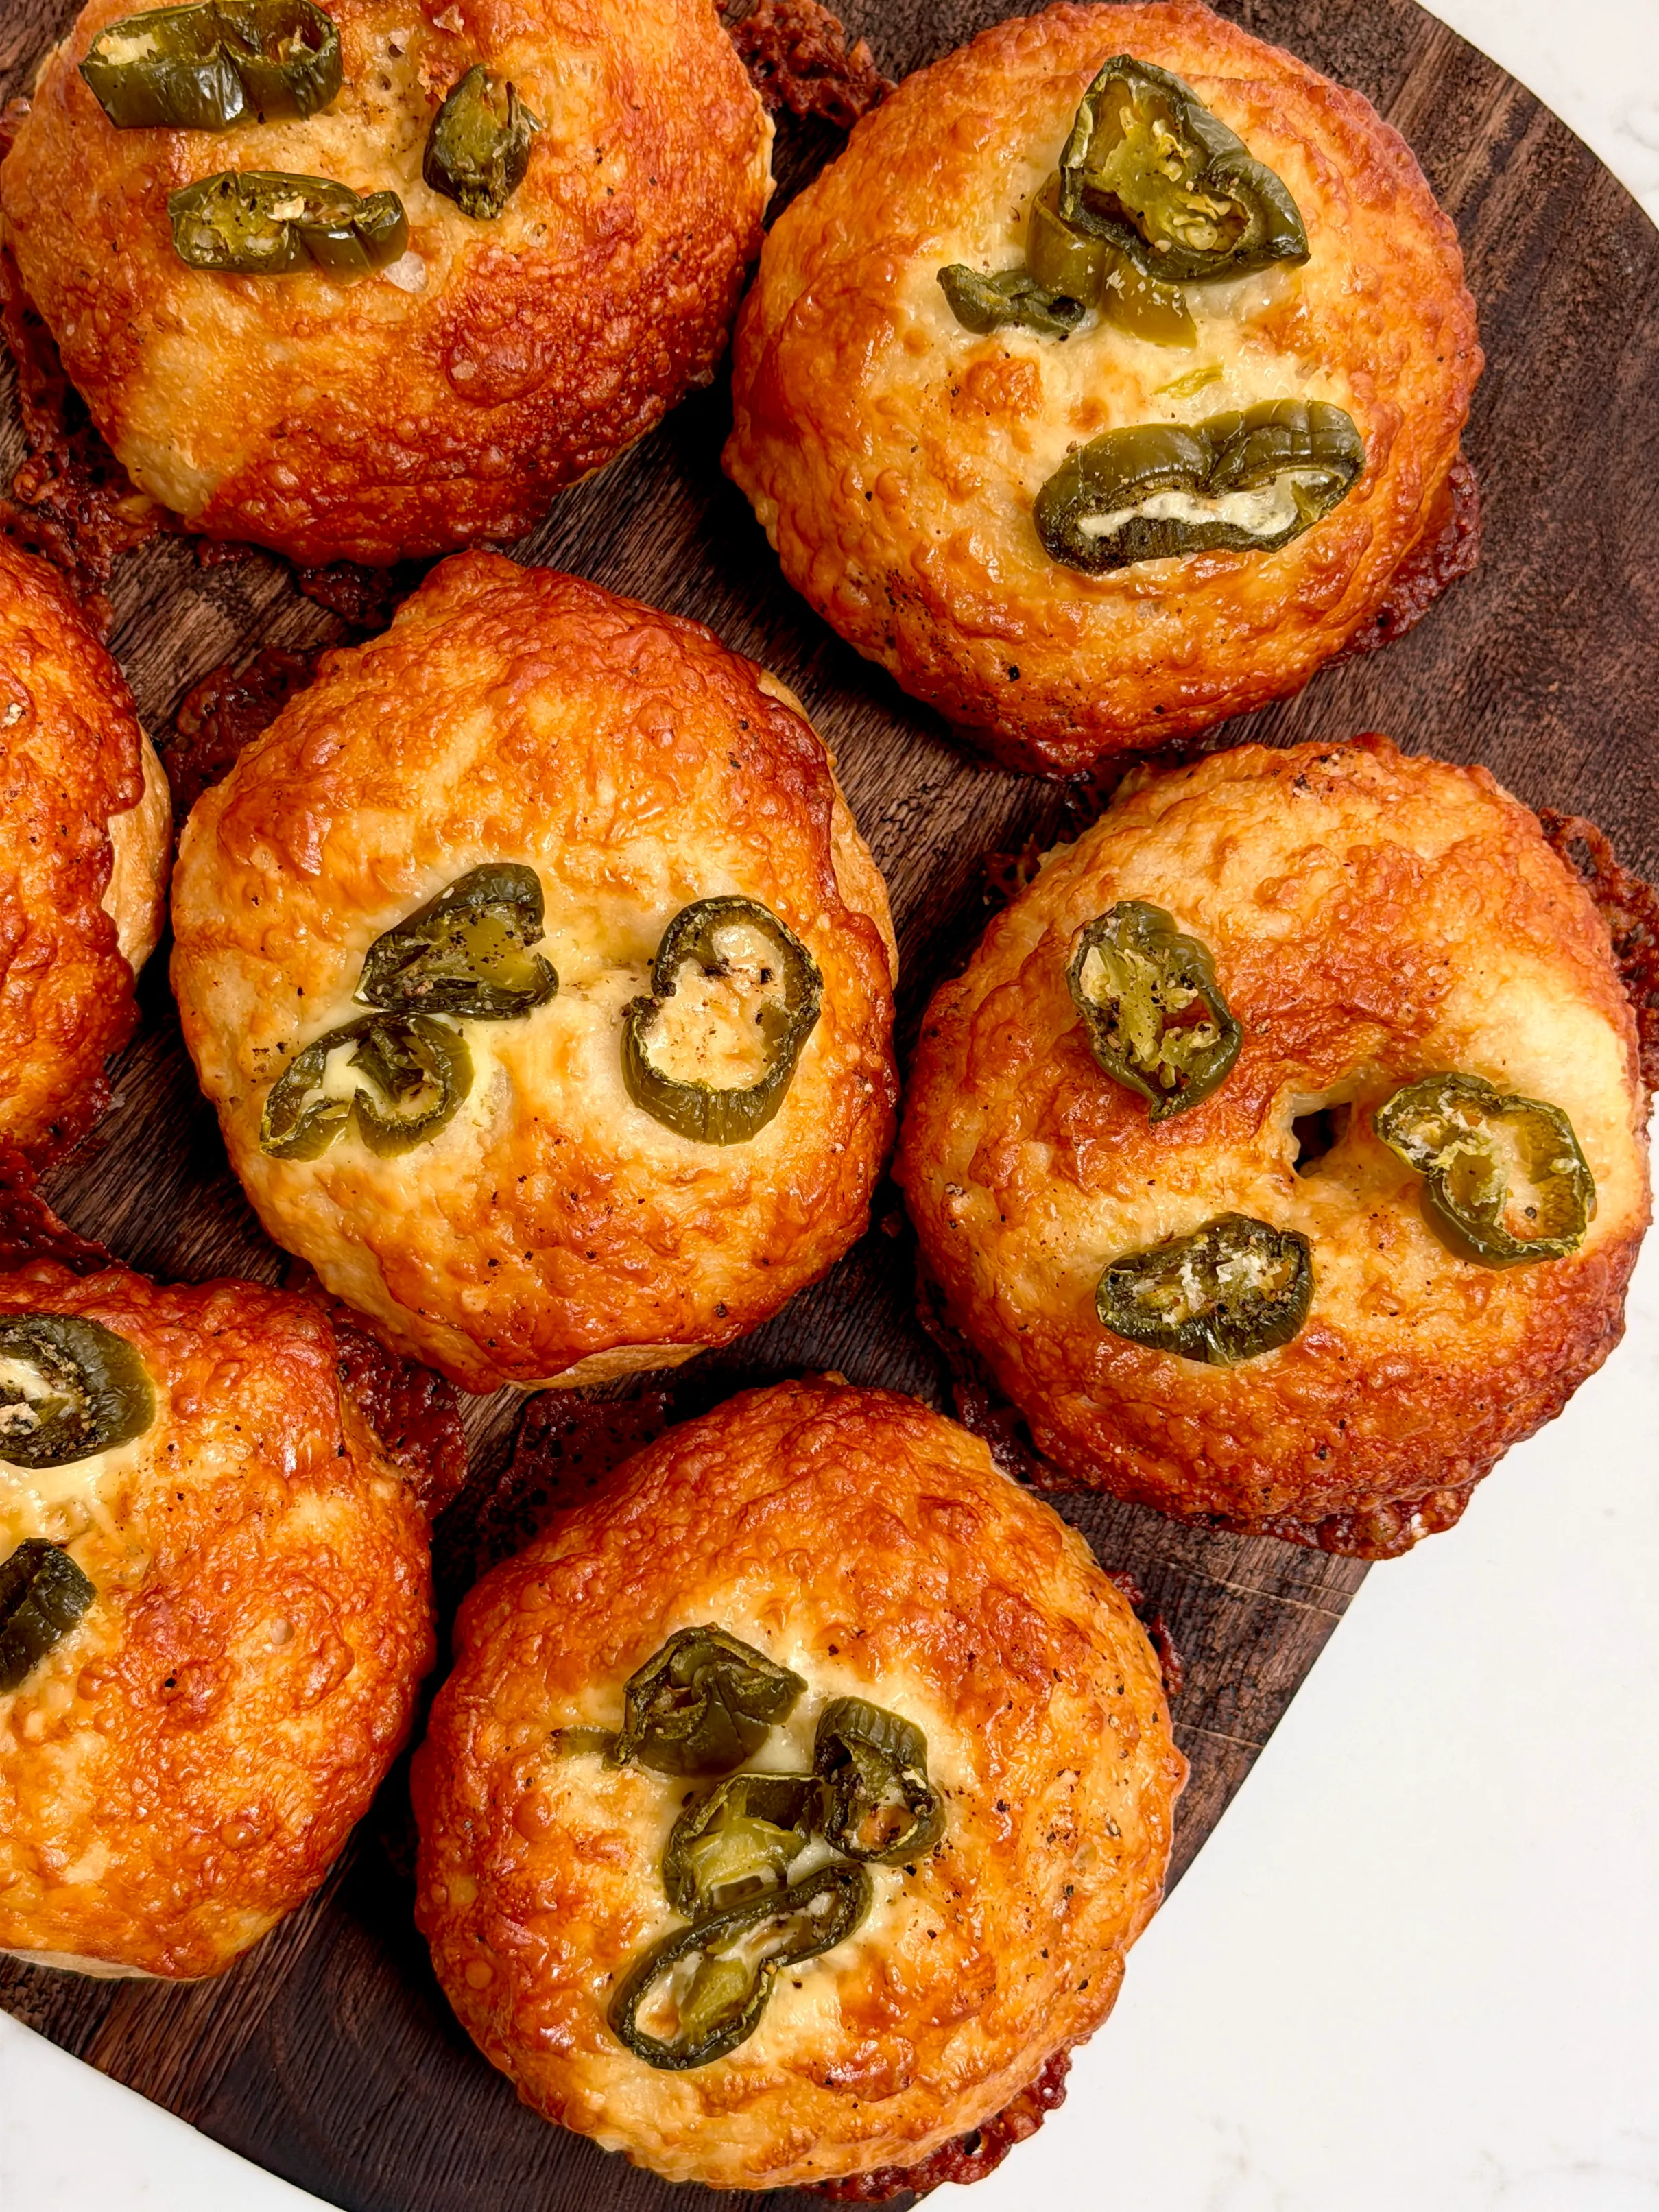
The combination of sharp mature cheddar and sliced jalapeños is one of the great bagel toppings — the cheese melts into the surface of the bagel as it bakes, the jalapeños caramelise slightly at the edges and the whole thing comes out of the oven golden, slightly spicy and deeply savoury. Better than anything you can buy, and made exactly to your taste.
Completely Adaptable
Once you have the base dough and the method, the toppings are entirely up to you. Sesame seeds, poppy seeds, everything bagel seasoning, plain flaky salt, cream cheese and smoked salmon toppings after baking — the possibilities are genuinely endless. The cheddar and jalapeño version is the starting point; where you go from there is your call.
Makes Eight
One batch of dough makes eight generous bagels — enough to keep in a bag for the week, share with people you like, or freeze and pull out as needed. They freeze exceptionally well and reheat beautifully, making this a very practical bake.
My Top Tips for the Perfect Cheddar & Jalapeño Bagels
- Use strong white bread flour, not plain flour (all-purpose flour). Strong bread flour has a higher protein content, which is what gives bagels their characteristic chew and structure. Plain flour does not have enough protein to develop the gluten network that a proper bagel needs.
- Make sure the water for the yeast is warm, not hot. Water that is too hot will kill the yeast before it has a chance to activate; water that is too cold will not activate it at all. Aim for around 35–40°C — warm to the touch but not uncomfortable. If you do not have a thermometer, it should feel like a warm bath.
- Let the yeast mixture sit for the full five minutes before adding it to the flour. You should see it become slightly foamy or bubbly during this time — this tells you the yeast is alive and active. If nothing happens after five minutes, the yeast may be old or the water temperature was wrong — start again with fresh yeast.
- Knead for the full 15–20 minutes and use the window pane test to check the dough is ready rather than relying solely on the timer. Every mixer runs slightly differently, and the window pane test is the only reliable way to know the gluten is fully developed — see the section above for full instructions.
- Shape the bagels with a larger hole than you think you need. The dough will rise during baking and the hole will shrink — if you start with a hole that looks about the right size, it will close up entirely by the time the bagel is baked. Stretch the hole to around 4–5cm across before boiling.
- Have your baking sheet lined and ready before you start boiling. The bagels come out of the water needing to go straight onto the sheet — having to prepare it while wet bagels are sitting on the side will make a mess and rush the process.
- Work in batches of three to four when boiling, depending on the size of your pan. Overcrowding the pan lowers the water temperature and means the bagels do not boil evenly. Keep the water at a rolling boil throughout.
- Use a slotted spoon or a spider strainer to lower the bagels into the boiling water and lift them out. This gives you the most control and minimises the risk of splashing or deforming the bagels as they go in.
- Boil for one to two minutes per side depending on your chew preference — one minute for a softer, more bread-like chew; two minutes for a denser, chewier, New York-style result. There is no wrong answer — it is entirely a matter of personal preference.
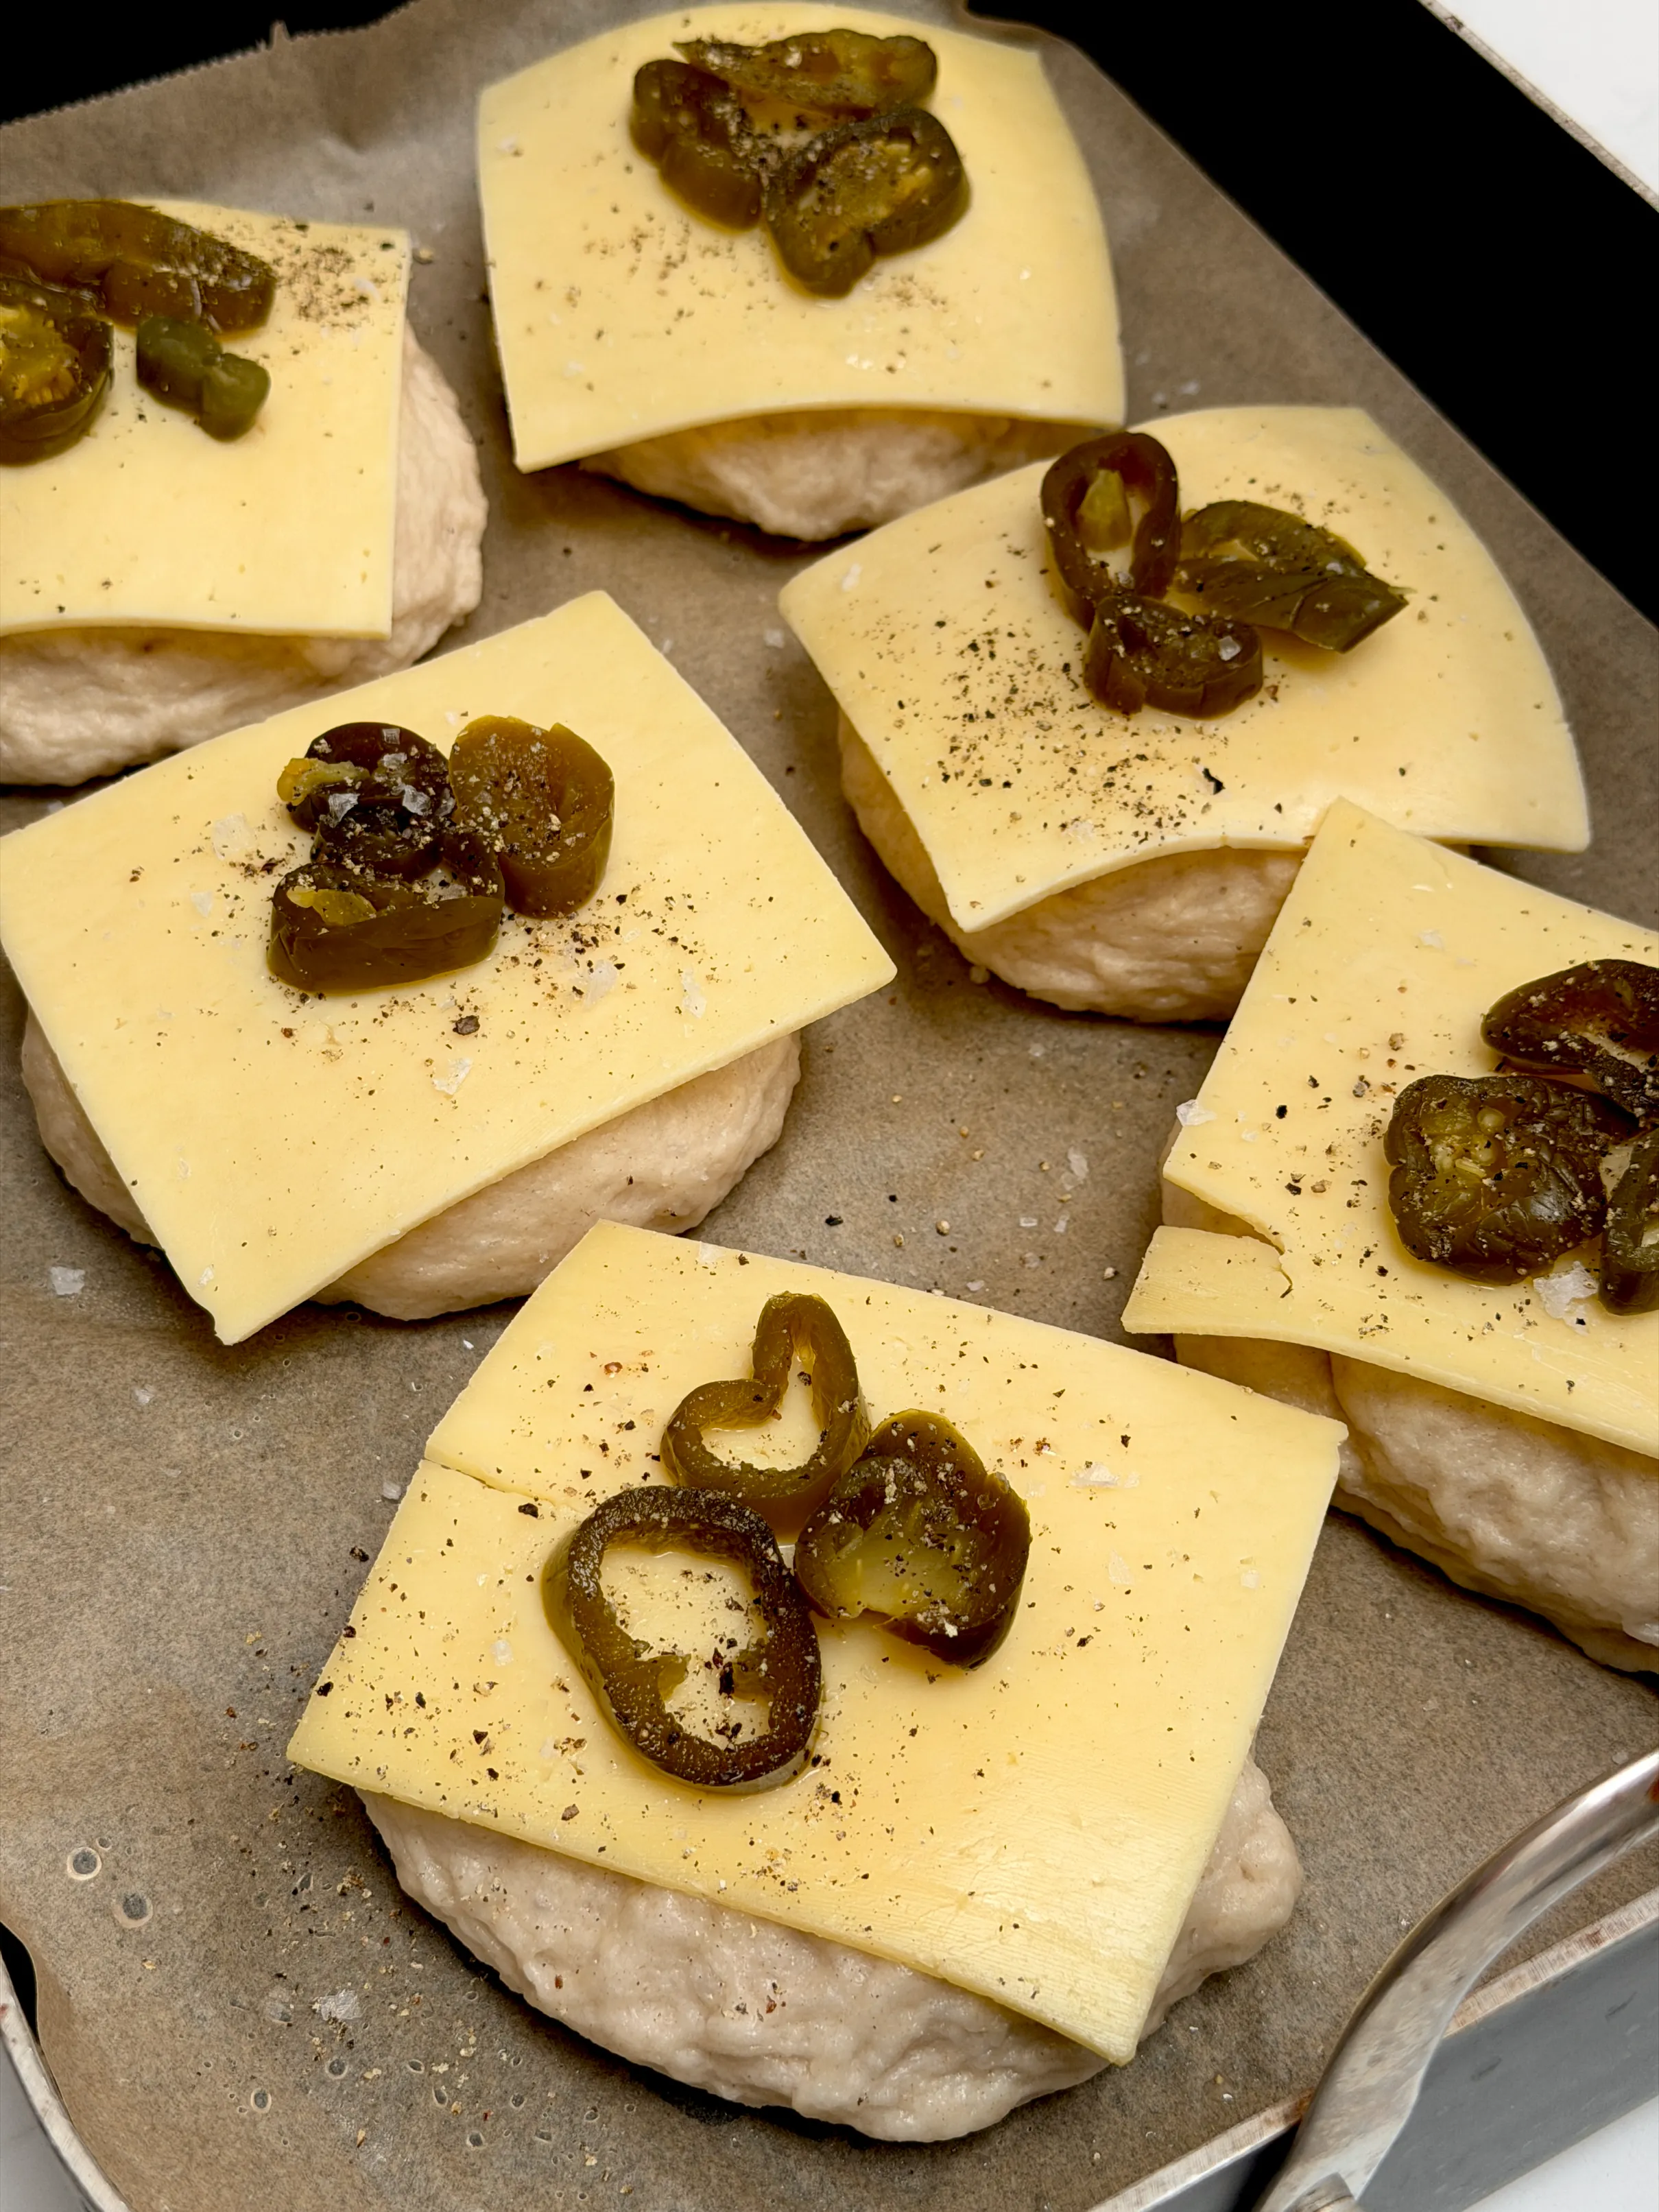
- Top generously with mature cheddar and jalapeños immediately after boiling, while the surface of the bagel is still tacky and slightly damp — this helps the toppings adhere during baking. Season lightly with flaky sea salt and black pepper before they go in.
- Bake until deeply golden — 18–20 minutes at 180°C should do it, but ovens vary. Look for a deep, even golden colour across the top of the bagels and a cheese topping that is fully melted and starting to bubble at the edges.
Ingredients and Tools You'll Need
For the Dough
- 7g fast action dried yeast – fast action yeast does not need to be activated separately but benefits from being bloomed in warm water as per this recipe
- 20g caster sugar (superfine sugar) – feeds the yeast and adds a very subtle sweetness to the dough
- 350ml warm water – around 35–40°C; warm to the touch but not hot
- 530g strong white bread flour – essential; do not substitute with plain flour (all-purpose flour)
- 10g salt – seasons the dough; add separately from the yeast as direct contact between salt and yeast can inhibit the yeast's activity
- A little neutral oil – for oiling the bowl during the rise
For the Boiling Water
- 1 tsp bicarbonate of soda (baking soda) – makes the water more alkaline for a deeper, more golden crust
- 1 tsp honey – adds subtle sweetness to the crust and contributes to the golden colour
For the Toppings
- 8 slices of mature cheddar – one slice per bagel; sliced from a block or pre-sliced both work well
- Sliced jalapeños – jarred sliced jalapeños are ideal; three to four slices per bagel gives a good heat level
- Flaky sea salt – a light scatter over the top before baking
- Black pepper
Essential Tools
- Stand mixer with a dough hook — essential for this recipe; kneading by hand for 15–20 minutes is possible but very tiring and harder to achieve a consistent result
- Large saucepan — for boiling the bagels; wide enough to hold three to four bagels comfortably without overcrowding
- Slotted spoon or spider strainer — for lowering and lifting the bagels from the water
- 1–2 large lined baking sheets — for resting the boiled bagels and baking
- Baking paper (parchment paper) — for lining the baking sheets
Storing & Freezing
Storing
Freshly baked bagels are at their best on the day they are made — the crust is at its crispest and the crumb at its chewiest. Store at room temperature in a sealed bag or airtight container for up to two days. They will soften slightly overnight but are still excellent — particularly when toasted.
Freezing
These bagels freeze brilliantly — slice them in half before freezing so they can be toasted directly from the freezer without defrosting. Place in a sealed freezer bag and freeze for up to three months. Toast from frozen until golden and warmed through — the bagel refreshes beautifully and tastes almost as good as the day it was baked.
Reheating
To refresh a bagel that has been stored at room temperature for a day or two, slice and toast in a toaster or under the grill (broiler) until golden. Alternatively, wrap the whole bagel in foil and warm in the oven at 180°C for 8–10 minutes.
Dietary Variations
Gluten-Free
Standard bagels rely entirely on the gluten developed during kneading for their structure and chew — they cannot be made gluten-free without significant changes to the recipe and the method. A gluten-free bread dough made with a specialist gluten-free bread flour blend and xanthan gum can be adapted into a bagel shape and boiled in the same way, but the texture and chew will be noticeably different from a wheat-based bagel.
Dairy-Free
Simply leave off the cheddar topping and replace with a dairy-free cheddar alternative — several brands now produce one that melts reasonably well on bread. All other ingredients in the dough and boiling water are naturally dairy-free.
Vegan
Replace the honey in the boiling water with maple syrup or agave syrup — the function is the same and the result is virtually identical. Use a dairy-free cheddar alternative for the topping. All other ingredients are naturally vegan.
Different Toppings
The dough is a blank canvas and the toppings are entirely adaptable. A few ideas beyond cheddar and jalapeño:
- Everything bagel seasoning — a blend of sesame seeds, poppy seeds, dried garlic, dried onion and flaky salt, scattered generously over the bagel immediately after boiling
- Sesame seeds — classic, nutty and beautiful on a plain or cream-cheese-topped bagel
- Poppy seeds — slightly more bitter and more subtle than sesame; particularly good with smoked salmon and cream cheese
- Plain flaky sea salt — the simplest and arguably the most versatile; lets the flavour of the bagel itself shine
- Parmesan and black pepper — deeply savoury and excellent toasted with butter
Frequently Asked Questions
Do I need a stand mixer to make bagels?
A stand mixer with a dough hook is strongly recommended — the dough needs 15–20 minutes of kneading, which is very tiring to do by hand and harder to do consistently. That said, it is possible to knead by hand if you do not have a stand mixer — turn the dough onto a lightly floured surface and knead firmly for at least 25 minutes, using the window pane test to check when it is ready rather than relying on the time.
What is the window pane test?
The window pane test is the most reliable way to check whether bagel dough has been kneaded sufficiently. Take a small piece of dough and stretch it gently between your fingers — if it stretches into a thin, almost translucent membrane without tearing, the gluten is fully developed and the dough is ready. If it tears, it needs more kneading. See the full explanation in the section above.
Why do you boil bagels before baking?
Boiling is what makes a bagel a bagel. The brief submersion in boiling water gelatinises the outer layer of the dough, creating a thin crust that sets the shape, limits oven spring and gives the bagel its characteristic dense, chewy interior and glossy crust. Without boiling, you would have a bread roll — good, but not a bagel. The bicarbonate of soda (baking soda) in the water makes it more alkaline, which gives the crust a deeper golden colour; the honey adds subtle sweetness and further golden colour.
How do I get a chewier bagel?
Boil for closer to two minutes per side rather than one. The longer the bagel spends in the boiling water, the more the outer layer gelatinises and the chewier the finished result. This is entirely a matter of personal preference — one minute per side gives a softer, more bread-like chew; two minutes gives a denser, New York-style chew.
Can I make the dough ahead of time?
Yes — after the initial knead, the dough can be placed in the fridge for a slow overnight rise rather than a 90-minute room temperature rise. Cover the bowl tightly and refrigerate for 8–12 hours. Remove from the fridge, allow to come to room temperature for 30 minutes, then shape and proceed from step six. A slow rise develops a more complex, slightly tangier flavour in the finished bagel.
Can I freeze the dough or the unbaked bagels?
The shaped, unbaked bagels can be frozen before boiling — place on a lined baking sheet, freeze until solid, then transfer to a freezer bag. When ready to bake, boil from frozen (add an extra minute per side) and bake as per the recipe. Baked bagels also freeze very well — see the storage section above.
Ingredients
7g Fast Action Dried Yeast
20g Caster Sugar
350ml Warm Water
530g Strong White Bread Flour
10g Salt
1 Tsp Bicarbonate of Soda
1 Tsp Honey
8 Slices of Cheese
Sliced Jalapeños
Flaky Sea Salt
Black Pepper
Instructions
- Add the yeast and sugar to the warm water and leave for 5 minutes until slightly foamy.
- Add the flour and salt to a stand mixer fitted with a dough hook. Pour in the yeast water and knead on a medium speed for 15–20 minutes until the dough passes the window pane test — it should stretch into a thin, translucent membrane without tearing.
- Shape the dough into a tight ball. Oil the bowl lightly, return the dough, cover and leave to rise for 90 minutes to 2 hours until roughly doubled in size.
- Preheat the oven to 180°C. Line one or two large baking sheets with baking paper (parchment paper).
- Knock the dough back, tip onto a lightly floured surface and roll into a log. Cut into 8 equal pieces.
- Roll each piece into a ball. Push your thumb through the centre of each ball, then use your fingers to stretch the hole to around 4–5cm across — it should be larger than you think you need as it will shrink during baking.
- Bring a large pan of water to the boil. Add the bicarbonate of soda (baking soda) and honey. Working in batches of 3–4, gently lower the bagels into the water and boil for 1–2 minutes on each side — 1 minute for a softer chew, 2 minutes for a denser, chewier result. Lift out with a slotted spoon and place on the lined baking sheet.
- Top each bagel with a slice of mature cheddar and 3–4 slices of jalapeño. Season lightly with flaky sea salt and black pepper.
- Bake for 18–20 minutes until deeply golden and the cheese is melted and bubbling. Leave to cool slightly before eating.
More Recipes like this!

Like this recipe?
If you like this recipe, you'll love my cookbook! Full of delicious meals for all types of occasions, there's something for everyone
Meal Plans & More...
Subscribe to my newsletter for weekly meal plans, for one! I select 5 one pot one portion recipes that use similar ingredients and include your shopping list plus recipe notes, ingredient swaps and tips and tricks for using up leftovers. Take a look at the first one here...
Ginger Chicken Rice Bowl
Usually I would consider a brothy meal that you eat with a bowl and a spoon a form of comfort food, however, the flavours in this dish are so fresh and vibrant that it has to go in this chapter. I love the fiery freshness of ginger and it’s the predominant flavour in this rich chicken broth. The finished dish isn’t a soup as such, but there is just enough broth to make every mouthful deliciously juicy. It also takes minimal time to make so it’s a useful recipe to have on hand for days when you’re short of time.

Curried Chicken Skewers with Satay Slaw
I have an affinity for crunchy slaws, as I think they provide more interest, more texture and are more filling than many other salads. However, I’m not partial to excessive quantities of mayonnaise. Here I opt for coconut milk instead, which delivers the same creaminess in a less monotonous way. The fresh coriander and bite of roasted peanuts keep this slaw lively and interesting and are perfect with the lightly charred curried chicken skewers. This would also be great sandwiched between a burger bun, or on a soft flatbread.

Creamy Green Linguine
In a way, this linguine changed my life. It was the first recipe in the series to take off on social media, bringing new people and new opportunities into my life. It’s an exceptionally simple recipe that uses the same water to cook both the pasta and the vegetables, which you then use to create a velvety, carbonara-esque sauce with the cheese and egg. I’ve retested this and tweaked it since its original conception and, though I can’t promise it will change your life, I can promise it will be delicious.

Vegetable Pancake with a Chilli Crisp Egg
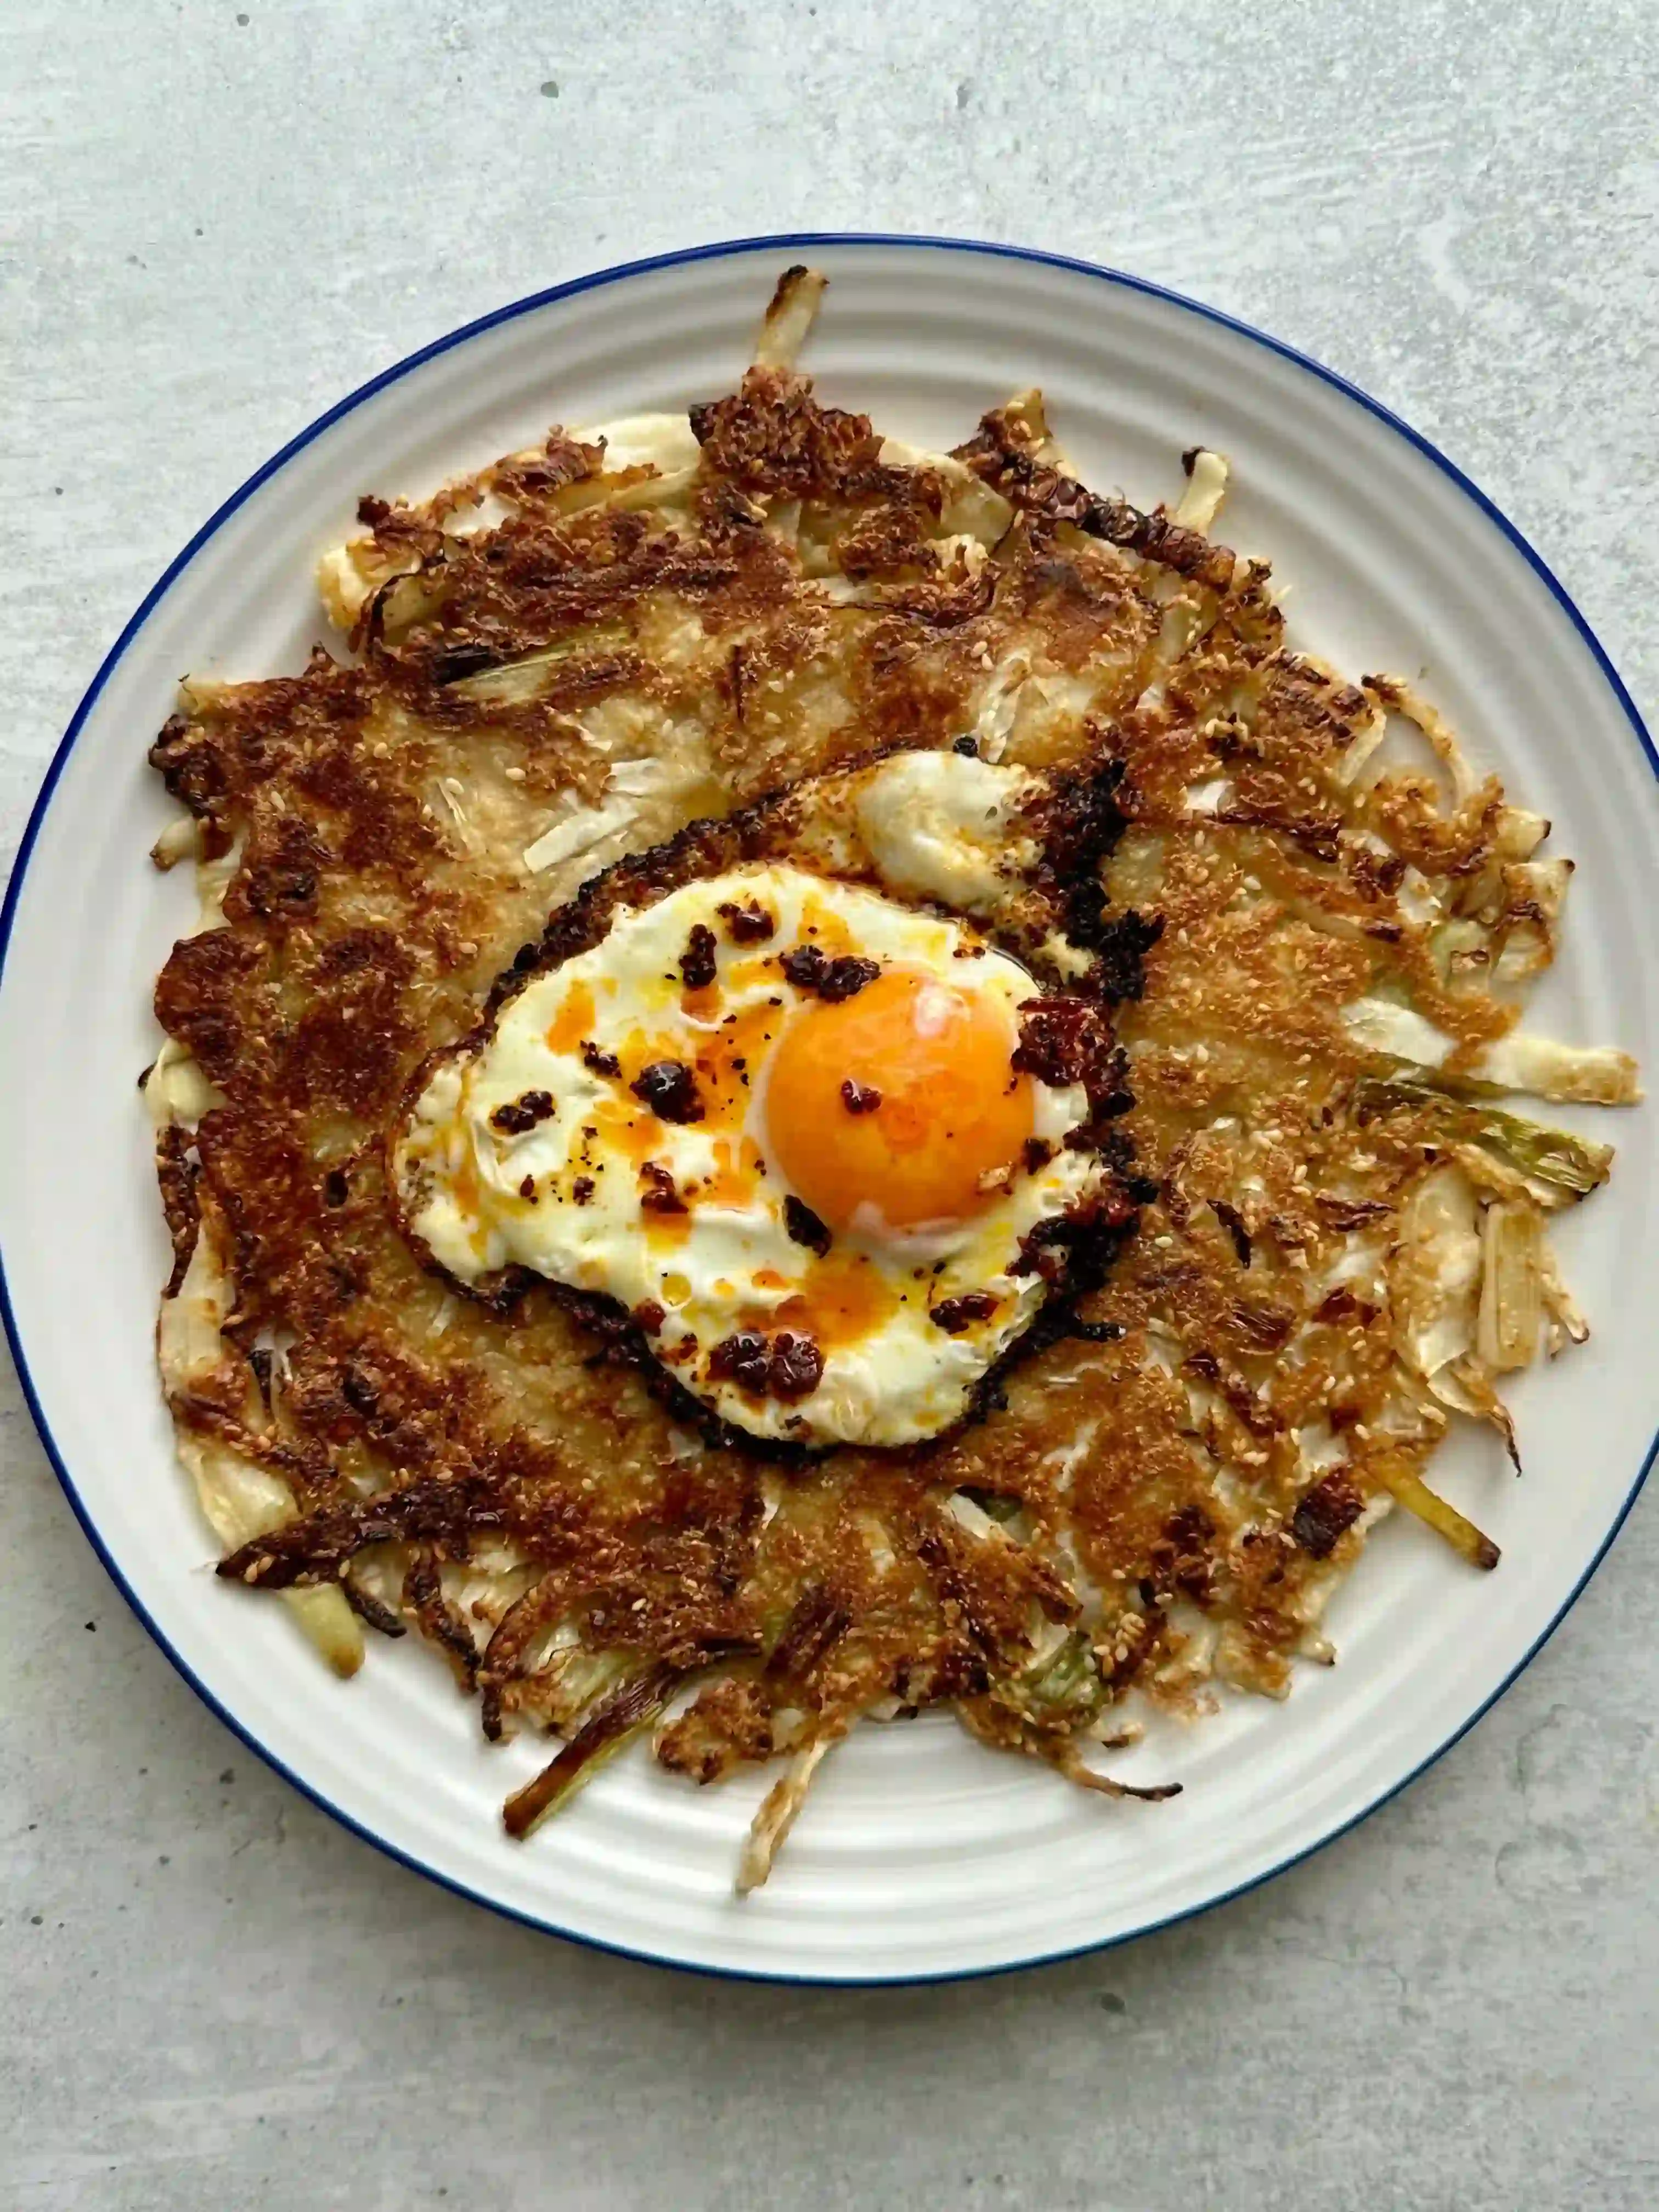
This vegetable pancake has its origin in Korea (where they’re known as yachaejeon) and is the perfect dish to use up odds and ends of any vegetables you have lying around. Cabbage, spring onions, carrots and courgettes work really well and provide a nice balance of moisture and crunch, but peppers, potatoes, mushrooms or leafy greens are good alternatives. Depending on the vegetables you use, you may need more or less water to make the light batter so adjust as necessary.
Prawn & Mango Salad
The perfect fresh, but still flavourful, summer salad! This is a beautiful fragrant salad with a creamy, zingy coconut milk dressing. With just a little bit of chopping and a minute of whisking, you’ve got a gorgeous summer lunch, perfect for working from home, taking lunch to the office or a sunny meal in the garden this weekend.

Some big praise!
Take a look at what some of my happy customers have to say about "One Pot, One Portion"!
"One Pot One Portion is, to borrow from The Parent Trap “a brilliant beyond brilliant idea”…I know many feel that it’s too much bother to cook ‘just’ for themselves — a sad admission, I feel — and to those people, and many others besides, I say: get this book and prove yourself liberatingly wrong!…Thank goodness for books! And thank goodness for Eleanor Wilkinson, a young talent to lift the spirits…There are so many people who could benefit from this book…this book is a boon and a blessing"

"A genius approach to bringing joy to every meal, Eleanor gets that good food is the best form of self-love."

I buy a lot of cook books and this is genuinely one of the best l've ever bought. I've tried 6 or 7 recipes so far and they're all winners. I'm well used to scaling recipes down to one portion, but not having to calculate measurements as l go along feels like a little luxury. One of the best things about the book is that all the recipes are actually cooked in one pot - in a lot of other so-called books you still have to make your side dish in a separate pot. With these recipes, even if they include rice or pasta, it's all cooked together. No mountains of washing up! Highly recommended.

I have been following Eleanor on IG for a while and have made several of her dishes before the cookbook came out. I was thrilled to see so many new things to try and have already made about 6 of them. Her recipes are approachable, the dishes are delicious, and they make me feel like I can cook! Highly recommend.
If you love eating good home cooked food but can't be bothered to cook just for yourself, then this is the book for you. Using ingredients that are easy to find, then mixing, cooking and eating from the same pan or dish means a minimum of washing up. Every recipe I have tried so far has been delicious and have all turned out well which isn't always the case with many cookery books. Definitely recommend!
Following Eleanor on Instagram and seeing her recipes come to life is one thing but then having them in my own kitchen is quite another. Not only are the recipes easy to follow and delicious she also help you not to waste food. This book is like having all your favourite foods in one place with the added bonus of an old friend showing you the ropes. Congratulations Eleanor when can I pre-order the next one?
Bought this for my sister who cooks for one. She absolutely loved it finding it inspiring! So many great recipes to motivate and keep you cooking when it's just you eating!
Follow Eleanor on socials and knew I NEEDED this book immediately! SO glad I paid extra and had it shipped from the UK (to US). Eleanor's voice is loud and clear in every recipe. The pictures are beautiful, the instructions are perfectly clear, and I want to make EVERYTHING. I cannot recommend this book enough!
This is perfect, as far as influencer chefs go, I find this book refreshing in what has become a cohort of lauded influencers who really aren't doing much more than the bog standard meals most people make anyway, or making googled recipes and adding their own "flair". This book is different as it's your normal fare you'd likely make yourself, given a little bit of a twist to speed up the process / use less utensils / ingredients / food waste, in really creative and tasty ways, all perfectly portioned for one.
Great present! Bought this for my sister who cooks for one. She absolutely loved it finding it inspiring! So many great recipes to motivate and keep you cooking when it's just you eating!
Great present! Bought this for my sister who cooks for one. She absolutely loved it finding it inspiring! So many great recipes to motivate and keep you cooking when it's just you
Follow Eleanor on socials and knew I NEEDED this book immediately! SO glad I paid extra and had it shipped from the UK (to US). Eleanor's voice is loud and clear in every recipe. The pictures are beautiful, the instructions are perfectly clear, and I want to make EVERYTHING. I cannot recommend this book enough!
This recipe book is stunning and fulfils its role brilliantly in catering for individuals who want to eat delicious meals, but don't want to prepare family sized portions or devote their entire evening to cooking. Who'd believe you could make an entire roast for one person and only use one pan in the process! She is a genius and I couldn't recommend this book any more highly.
One of the best things about the book is that all the recipes are actually cooked in one pot - in a lot of other so-called books you still have to make your side dish in a separate pot. With these recipes, even if they include rice or pasta, it's all cooked together. No mountains of washing up!
This is the book I've been waiting for! I (very happily!) live alone, love to cook and read cookery books, but every recipe is for two people or more. This gorgeous book contains recipes perfectly proportioned for one person (and I'm always a very hungry one person!) which ensures more variety, less food waste, and pure, gluttonous joy.
It's so nice to finally have a recipe book that I can go to if I want a quick easy meal with minimal cleaning up required! Everything l've tried so far is delicious. And I salivate at the thought of everything in there!
Totally reignited my cooking mojo which had been MIA for a while. I'm going to buy my daughter a copy to take back to Uni too as everything is simple and delicious - perfect for a student!
Best cookbook for somebody single!
The fact I know I won't have loads to wash up really feels motivating and l've earmarked so many of the recipes already.
This book is like having all your favourite foods in one place with the added bonus of an old friend showing you the ropes. Congratulations Eleanor when can I pre-order the next one?